
The Kansas Haul (a journey from tree to guitar)

PM Custom T hanging out in the ranch woodshop.
Several years ago, I acquired several hundred board feet of various hardwood species from a ranch in southeast Kansas. All of the lumber came from trees on the property and was cut at the sawmill on site. Red cedar, black cherry, ash, maple, black walnut, and several other species made the trip back to Chicago with me. The lumber was rough-sawn and still pretty green, so I knew that getting it ready for any type of woodworking was going to be a long process.
Not having access to a giant kiln dryer, the only way for me to properly season the wood was the old fashioned way–waiting. With constant air movement through the shop and a consistent humidity level maintained by humidifiers, I was able to ensure the wood dried evenly without warping. As a general rule, every inch of thickness equals one year of seasoning. Some of the boards I had were three inches thick, so it was only recently that I was able to start working with this lumber.
The first board I broke down was a piece of rock maple. Known for its strength and consistency, this has been a go-to neck wood for many electric guitar builders, most notably Fender. Even Gibson used three-piece maple necks from the mid-70s into the early 80s. Beyond its structural capabilities, maple is great because it takes stain well and doesn’t require any grain filling before finishing.
After cutting down, re-sawing, and squaring the original board I decided to go with a pitched headstock. Scarf joints have always been my preferred method for making pitched headstock necks based on their strength and economic advantages, so that’s what I did with this first neck blank.
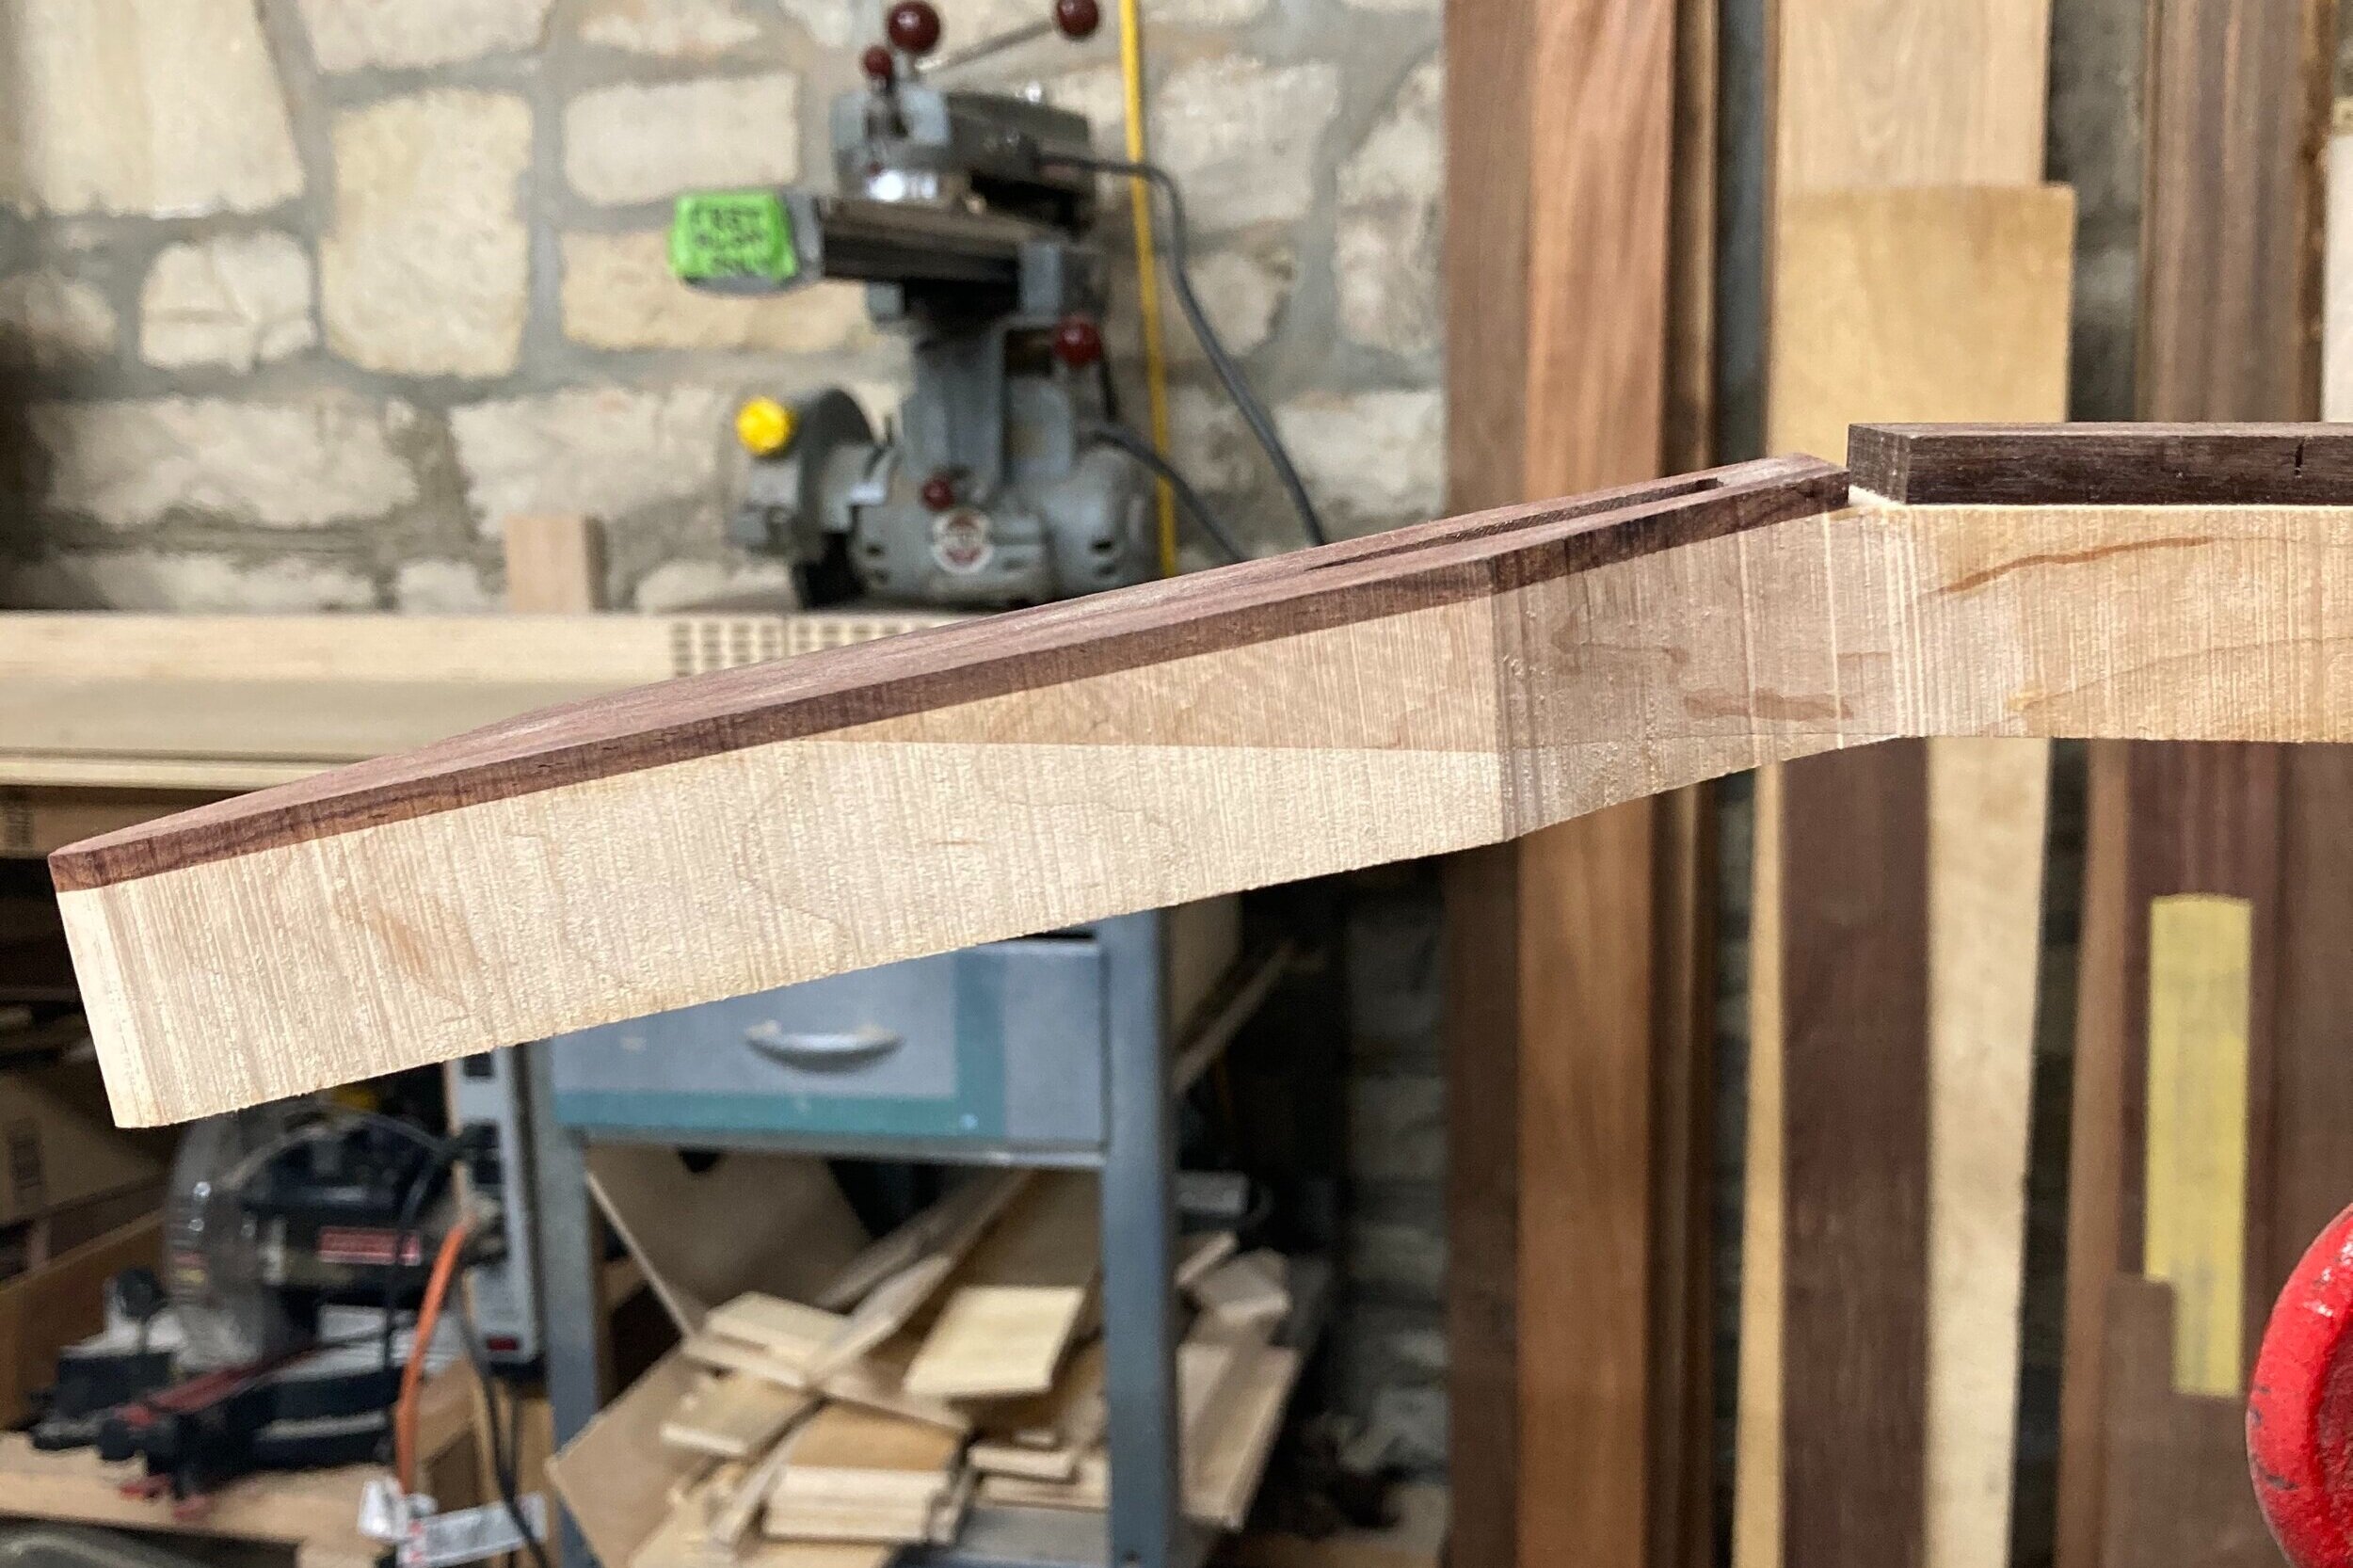
Maple neck with scarf joined headstock and rosewood veneer.
After the scarf joint was glued up, I routed a curved channel down the center of the blank to accept a Gibson-style compression truss rod. Using a neck routing jig onto which I attached two precisely-radiused rails, I was able to guide the router on the correct path.

Routing the truss rod slot.
Once the curve was routed to the proper depth, I drilled out the truss rod access cavity. I then made a fillet strip to be glued into the truss rod channel on top of the rod itself. This way, the rod has something to push against when you manipulate the nut. The bottom of the fillet strip must match the bottom curve of the truss rod channel in order to ensure the rod functions as it should. Once the strip was ready, I put the truss rod into the channel, carefully applied glue to the sides of the fillet strip–being careful not to get any glue on the rod itself–and clamped the strip in place.

Gluing the fillet strip.
Next, I glued a rosewood veneer onto the headstock. This hides the seam from the scarf joint, provides a nice channel for the nut, and will match the rosewood fingerboard.
After band-sawing and then sanding the proper taper into the fingerboard, I clamped it onto the neck , drilled a couple registration holes, then applied glue and clamped it up.

Prepping to glue the rosewood fingerboard. Registration pins are in place.
I’m going to have to think of a crazy body shape for this neck.
For the next project, I pulled an ash board with a really cool grain pattern. Ash makes a great body wood, particularly the lightweight swamp ash variety (as evidenced by all the early production model Telecasters coming out of Fullerton in the 50s). Ash grain is so vibrant and pronounced, I will never finish an ash body with opaque finish. This particular board wasn’t thick enough to bookmatch–as I was able to do with my ash Custom T–but once I got the two pieces I would be using for the body blank, I realized the grain of the two (formerly contiguous) pieces looked amazing side by side.
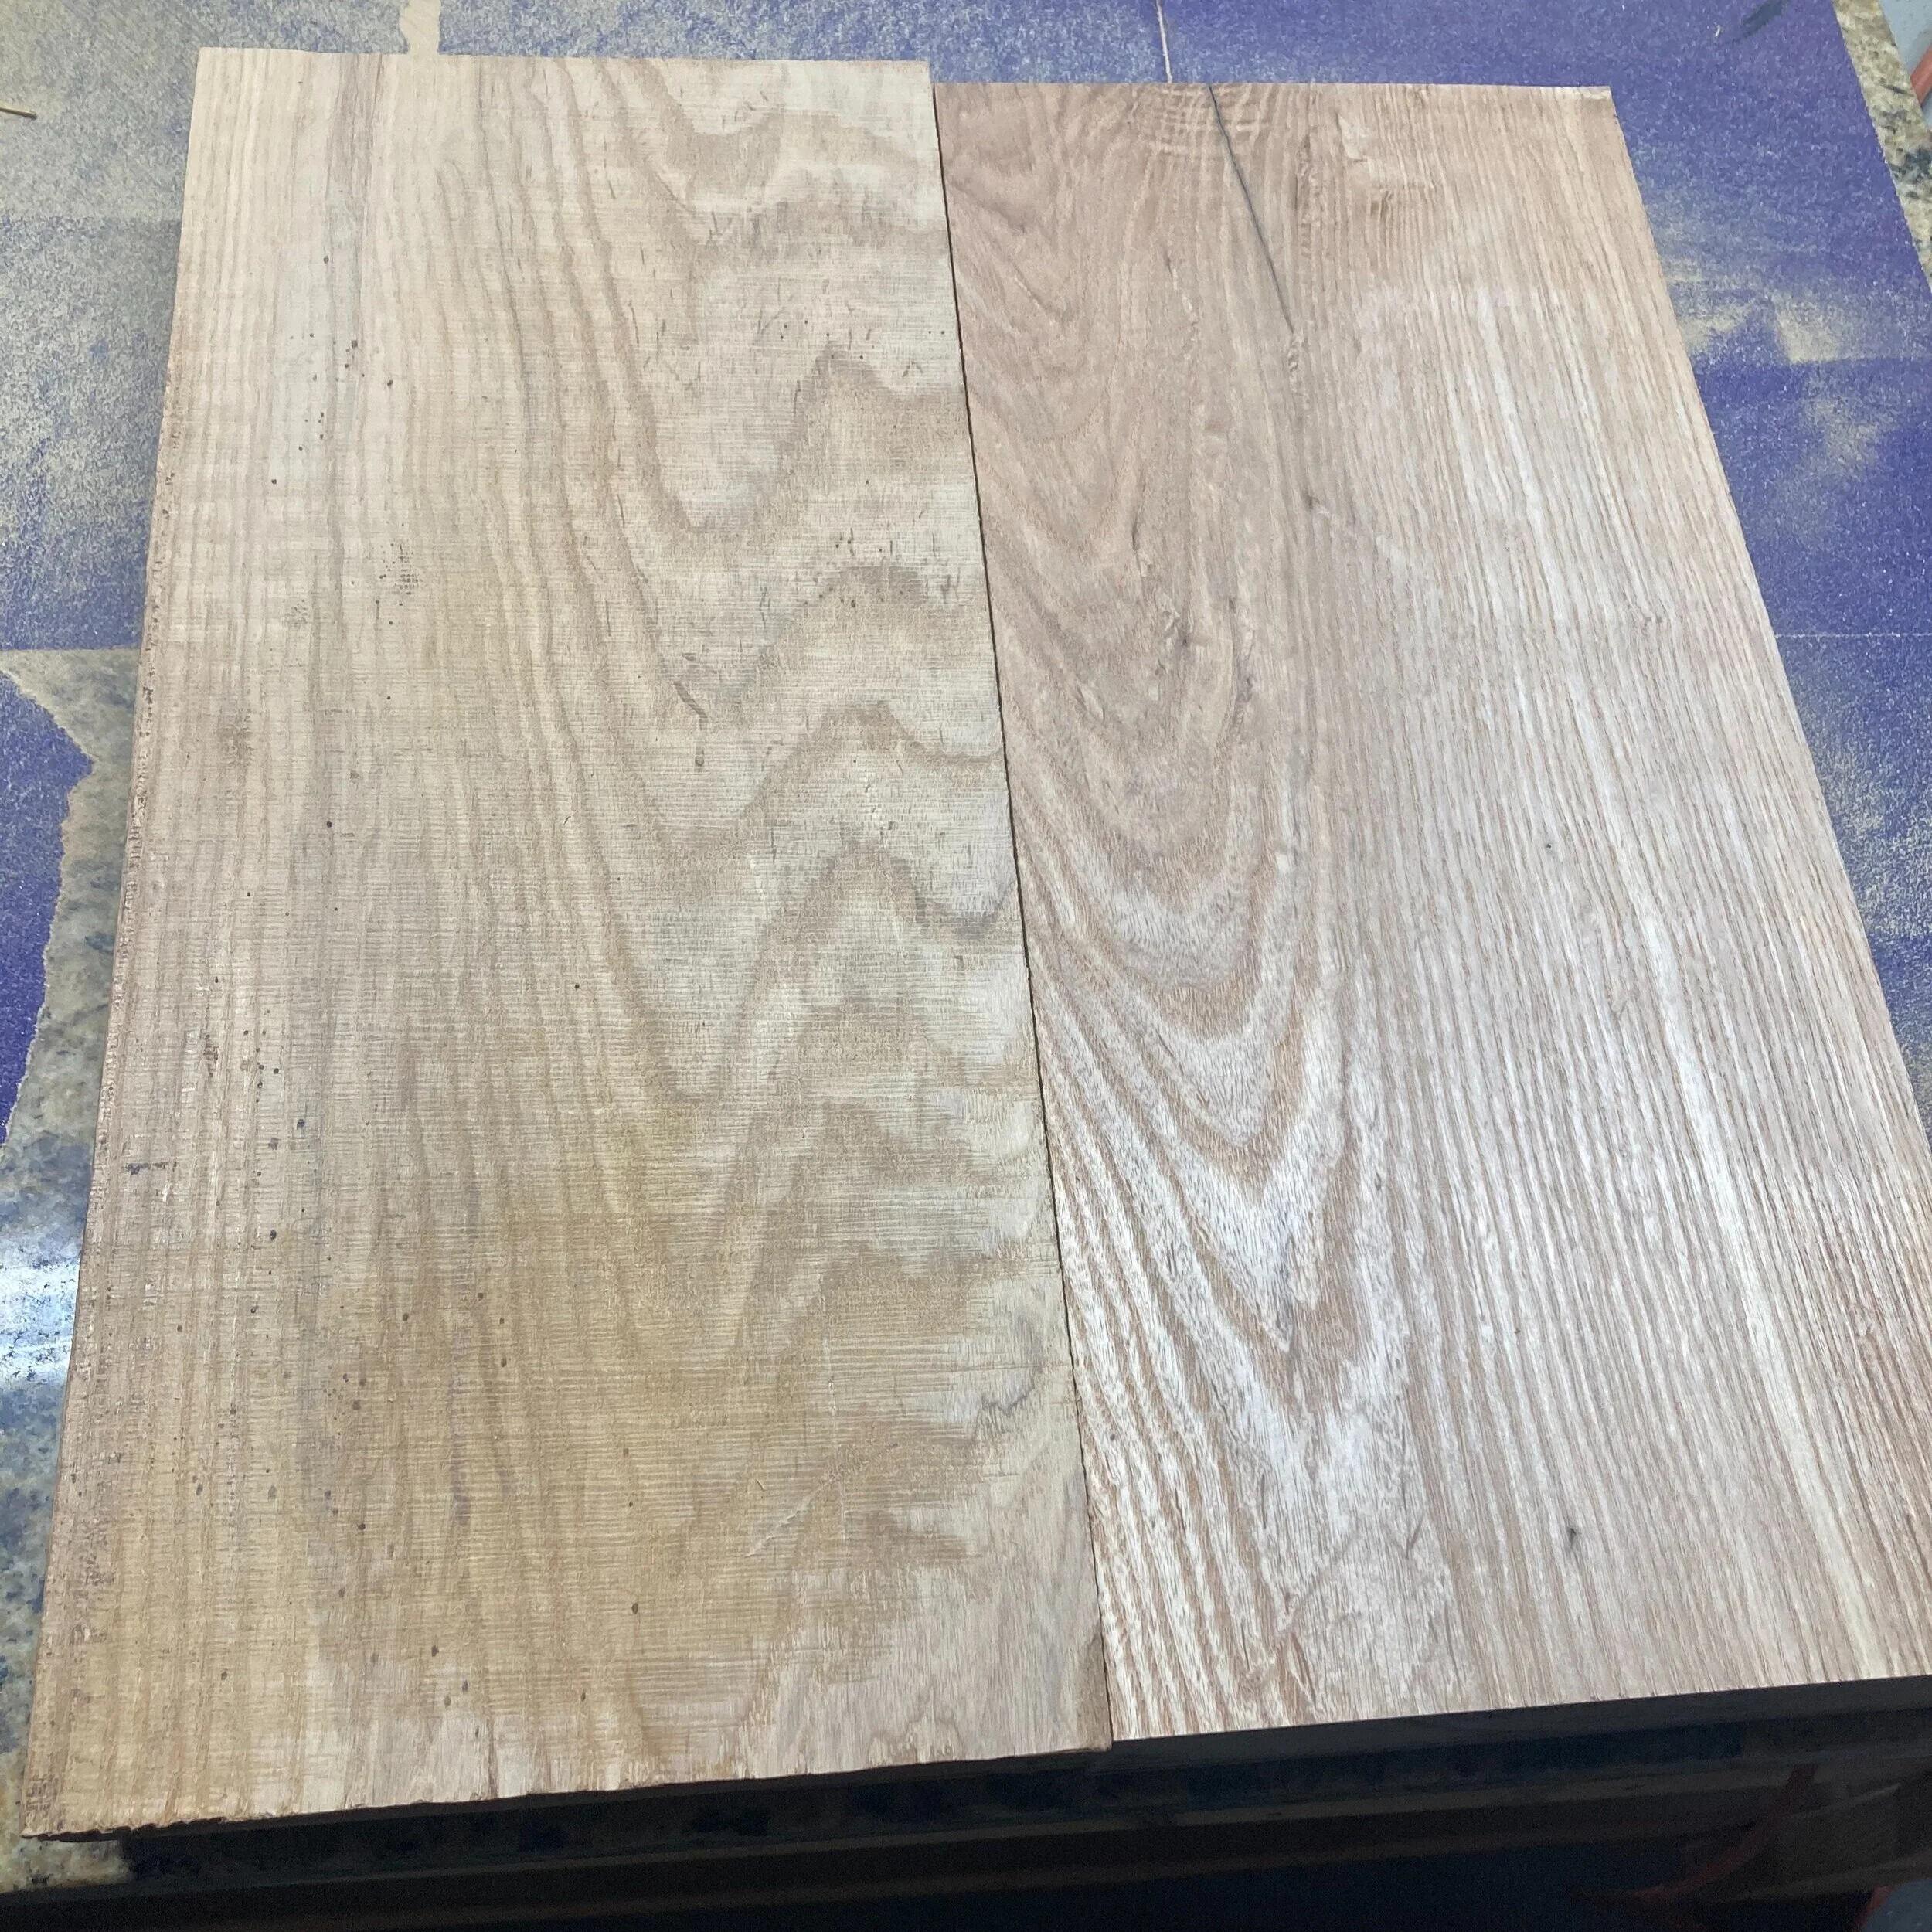
What will become a two-piece ash guitar body.
One initial cause for concern was a crack in one of the pieces. However, after observing where the crack ran out on the end grain, and knowing that I still needed to plane the thickness down, I determined fairly quickly it would not be an issue with the body shape I would be making.

This crack developed in the initial stages of drying out in the lumber yard.

This ash blank will look great as the new PM offset body shape.
Taking a rough cut piece of lumber and making it suitable for guitar building can be a very time-consuming process. I used the CNC to get one side of each piece flat. I then ran the pieces through the small planer, using many shallow passes to get the pieces to the proper thickness. Finally, I used the table saw to square the edges. Next up–joining the body.
Using a pair of parallel jaw clamps and an extra-long bar clamp, I dry-clamped the two pieces along the edges that would form the center seam. It is crucial that the joined edges be totally square and flat. A small tweak in pressure with the bar clamp, and/or a small movement of the blank up or down in the parallel jaw clamp jaws, would manipulate the joint until I had a flat plane across the top of both pieces. Once I was satisfied, I glued up the edges and went for it.

Successful glue-up of this ash guitar body blank.
Look at that grain!
These were the first couple projects with this amazing haul of lumber. Now that the lumber from the Kansas Haul is ready for working, I will be providing updates on new projects, along with progress updates on these two.